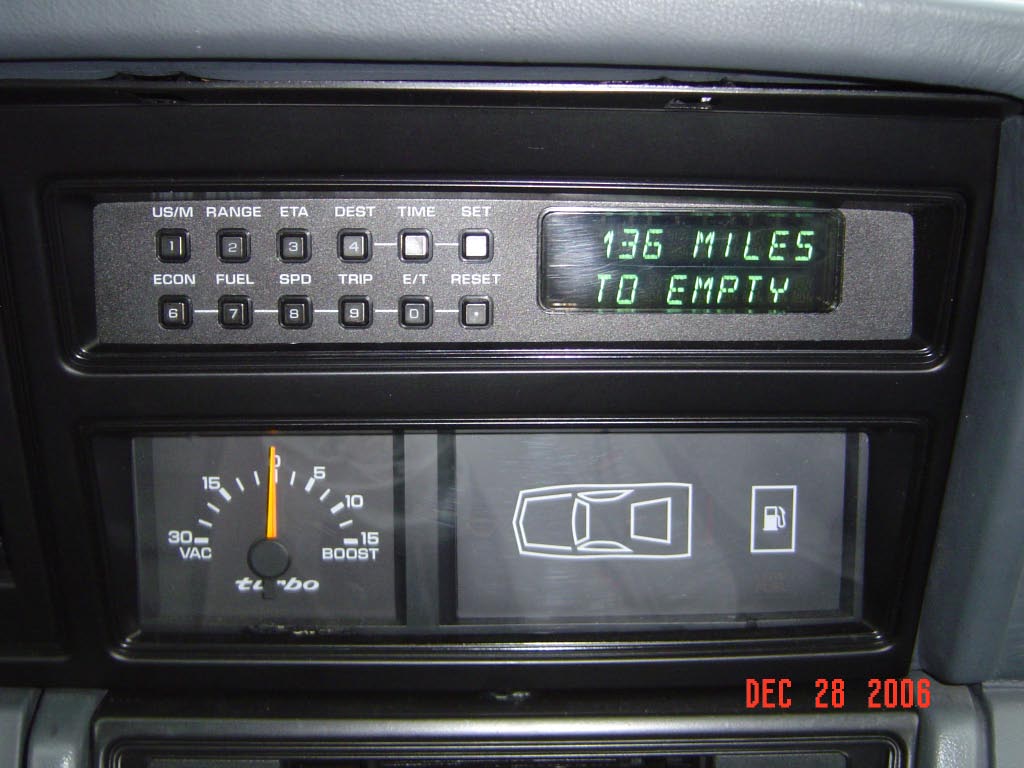
Make your navigator work like new with this button replacement tutorial!
Parts Required:
- 12 replacement switches with part number:
- 113-DTST-65N-V from Mouser.com (or)
- 450-2039-1-ND from digikey.com
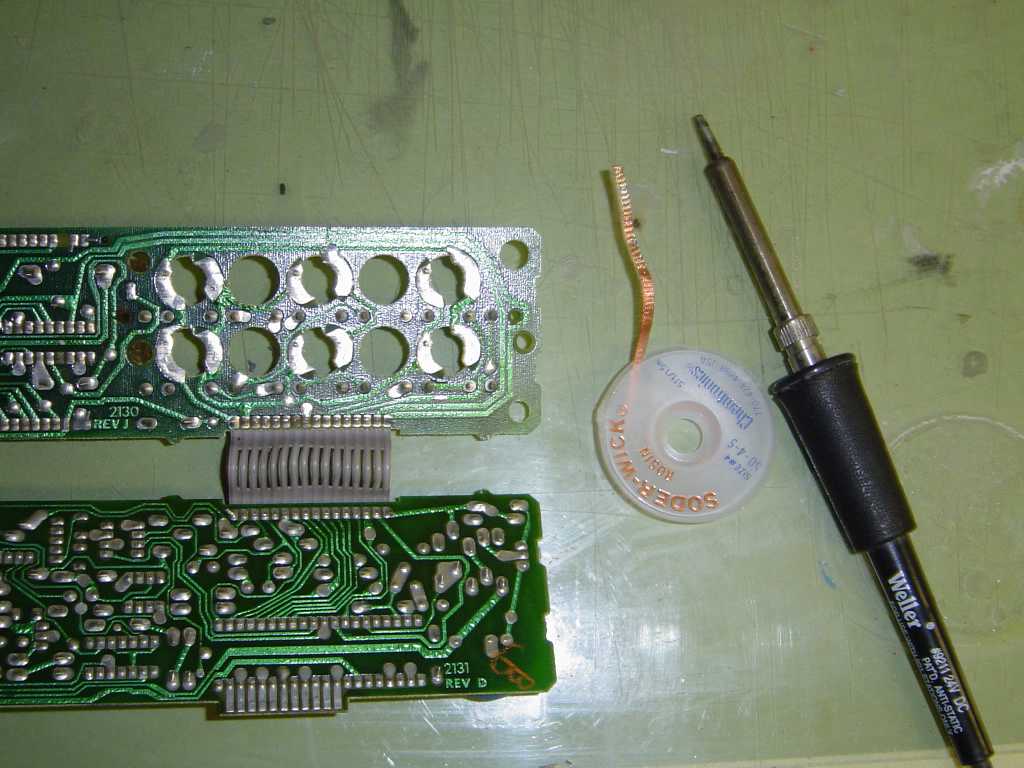
- Soldering Iron, Solder, and Solder Wick
- Philips Screwdriver
- Side cutters or Equivalent.
Disassembly
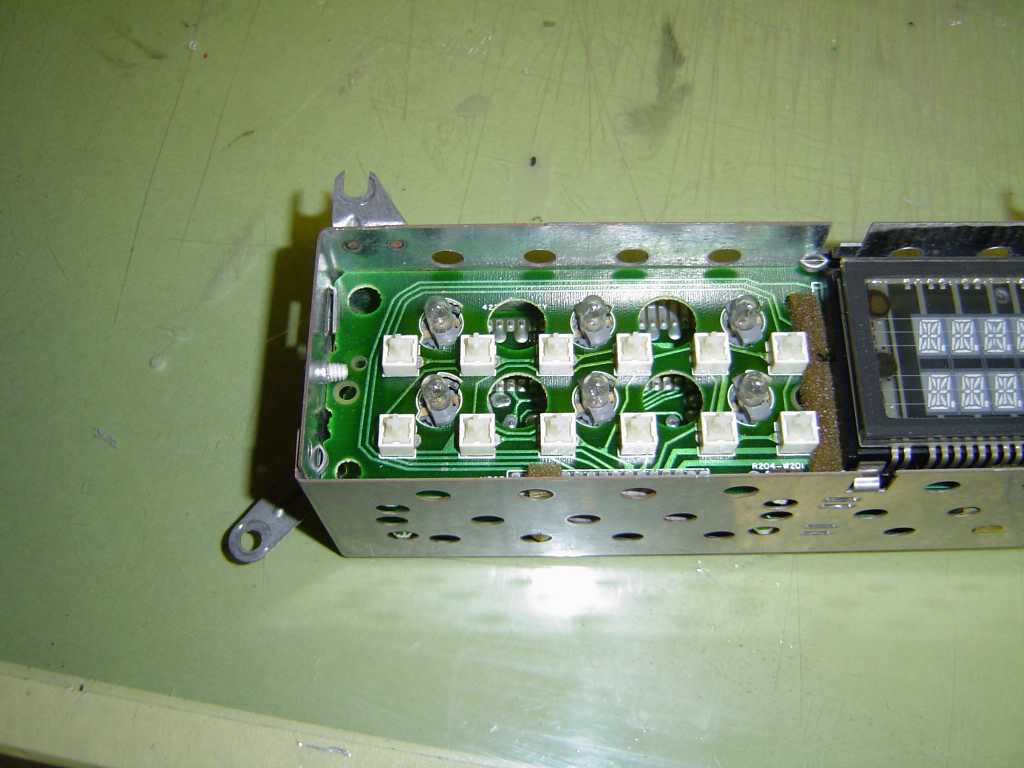
Start by removing the screw from the left and right side that holds the front bezel on. The bezel should then easily slide forward and come off. Next, remove the two screws from the back of the navigator and the two locating pins from the left and right side. The bottom will then come off and the circuit boards can be removed; they should easily slide out. Then, fold apart the two halves so that they are separated. I found that the project was easier if I removed the gray light bulbs also. Set them aside for later re-installation.
Desoldering
Next, use the solder wick to remove the bulk of the solder from the holes around the switch leads. Be careful with the holes that are closest to the display, as the wiring trace is on the top side, not the bottom where your soldering iron is. It is also important to note that the switches are not to be removed at this time, we are only removing the solder. This photo shows the board after the solder has been removed.
After removing the solder, its time to remove the old switches. The easiest way to do this is to heat up one leg of the switch and rock it upward out of the hole, and then do the same thing for the other side. Do this for all twelve switches and then the board will be ready to accept the new switches.

Install the new switches
After you have removed all of the old switches, you are ready to start installing the new ones. Center the new switch in the hole and use something to hold it down so that it does not fall out when you flip the board over. I used a small blob of super glue.


When you are soldering the switches, be careful to not heat the switch up too much. A quick touch of the soldering iron is all that’s required. If you use too much heat, you risk melting the switch.
After soldering all the remaining joints, the next step is to cut the tails off of the switches. This is easily done with a pair of side cutters.


Reassemble the Navigator
Now put the navigator back together by reversing the steps above. Make sure the bulbs make good contact, as the ones in mine were not making a good connection and it took a few tries before they all lit.


Enjoy!
Reinstall the navigator into the car and enjoy pushing the buttons that actually work!
